
Menu Integration with Shopify Hydrogen
This guide takes you through a step-by-step process to further integrate Shopify’s Menu to your Hydrogen site. Whether you’re building a sleek storefront or a complex e-commerce platform, understanding this integration will help you create a navigation system that’s both functional and beautiful.
In Summary:
- Create your Shopify Menu
- Modify GraphQL statement to handle Collections and Products to get the featured image
- Run npm run codegen
- Normalize the menu object from Shopify to TailwindUI’s navigation
- Render the menu
1. Review UI Design for Navigations
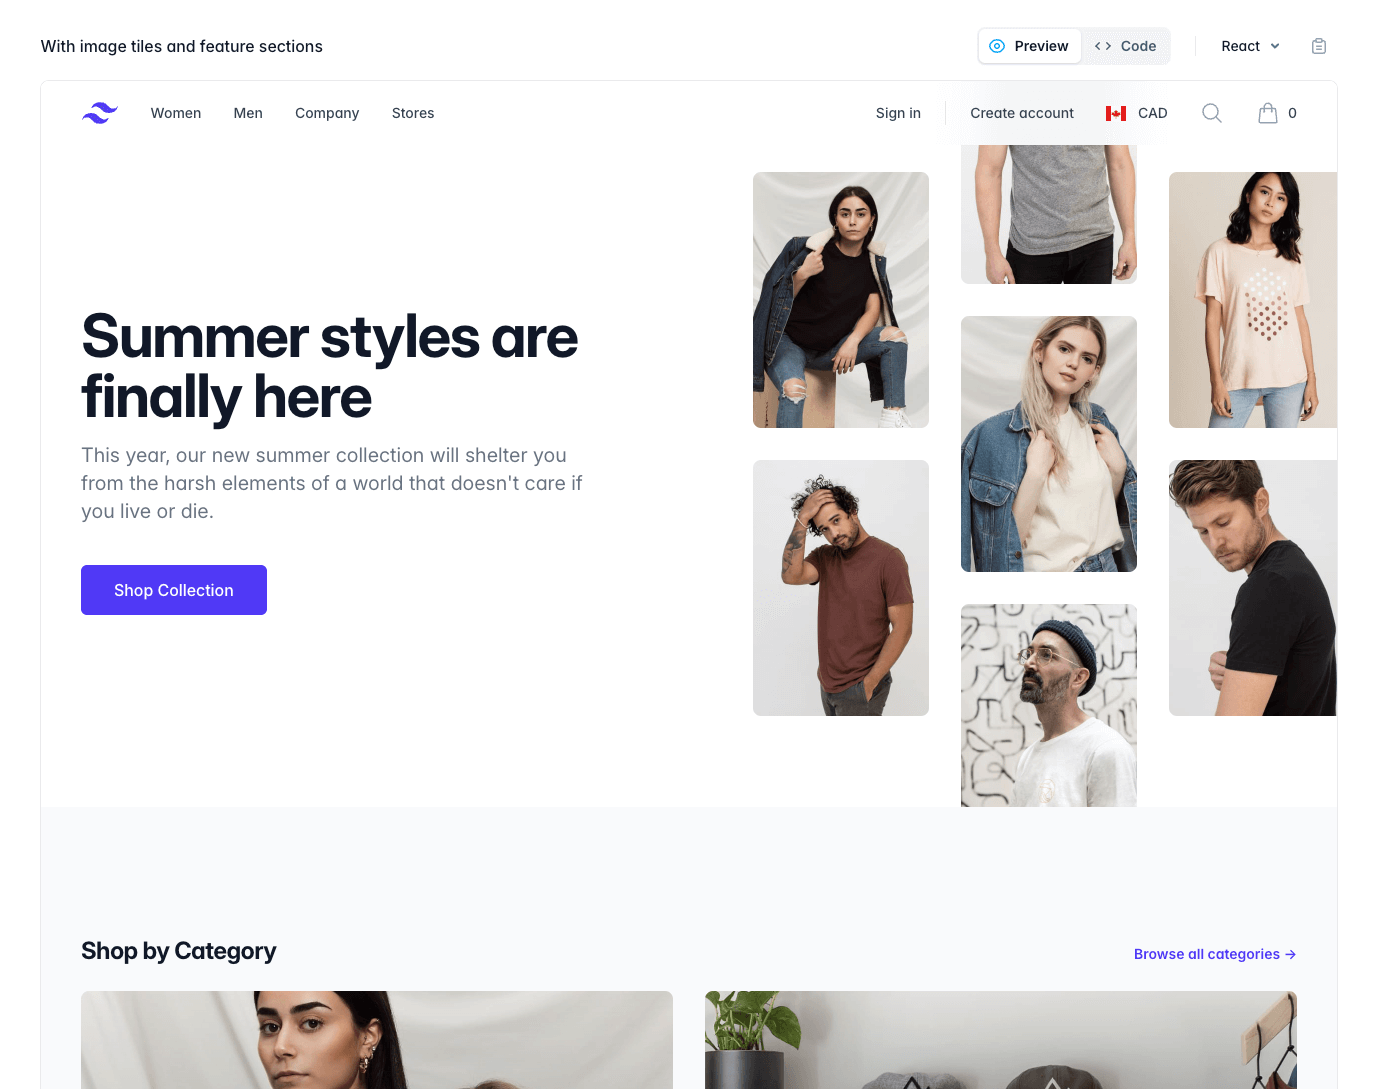
For this application, we want to copy this TailwindUI’s example of a storefront. When integrating a Shopify Menu with TailwindUI, it’s important to consider the structure of your menu items. In this scenario, let’s assume the store owner plans to include categories and products in the navigation. Each item will display its featured image for a more visually engaging design. The aim is to integrate this design to our Hydrogen application through Shopify menu.
Shopify Hydrogen comes with an out-of-the-box menu integration, making it easy to fetch and display basic menus right away. However, if you’re working with more complex menu items—like including product categories, specific products, or deeply nested structures—you’ll need to extend the GraphQL query and adjust your components accordingly. Let’s assume we have this sample Shopify Menu:

2. Define Types for TailwindUI
To ensure compatibility between your Shopify Menu and TailwindUI, define types that represent your menu structure. These types help bridge the data coming from Shopify with your front-end components.
// /app/lib/fragment.ts
  fragment MenuItem on MenuItem {
    id
    resourceId
    tags
    title
    type
    url
    resource {
      ... on Collection {
          id
          __typename
          image {
            url
          }
        }
      ... on Product {
          id
          __typename
          featuredImage {
            url
          }
        }
      }
  }
3. Modify GraphQL to Get Additional Attributes
Shopify’s default GraphQL query for menus might not include all the attributes you need for your TailwindUI integration. For this implementation, lets handle the Collection and Product object type. You can add attributes by modifying the MENU_FRAGMENT constant under the fragment.ts file.
// /app/lib/fragment.ts
  fragment MenuItem on MenuItem {
    id
    resourceId
    tags
    title
    type
    url
    resource {
      ... on Collection {
          id
          __typename
          image {
            url
          }
        }
      ... on Product {
          id
          __typename
          featuredImage {
            url
          }
        }
      }
  }
4. Run Hydrogen codegen
After updating your GraphQL query, run npm run codegen. Shopify Hydrogen has this awesome tool for updating your typescript objects automatically. After running this script, you will notice a change in this file: storefrontapi.generated.d.ts.
5. Render the Menu
With your data and types in place, you can now render the Shopify Menu in your TailwindUI design. Try debugging it and the featured image of collections and products should now appear in the menu object inside the app/components/Header.tsx file.
The next step simply involves normalizing Shopify menu object to TailwindUI’s navigation object and passing those values.